Oh my gosh, polymer clay is my new obsession! You can create literally anything! Cute earrings, quirky home decor, or even tiny sculptures. If you’re a total newbie or you’ve dabbled a bit, I’m so excited to share these polymer clay beginner tips with you.
It’s all about getting your hands messy, and having a blast while making stuff you’ll love.
Let’s walk through the basics, from picking the right clay to adding those final touches that make your creations pop!
This post may contain affiliate links, which means I could earn a small commission at no extra cost to you.
Table of Contents
Polymer Clay Beginner Tips
Picking Your Polymer Clay
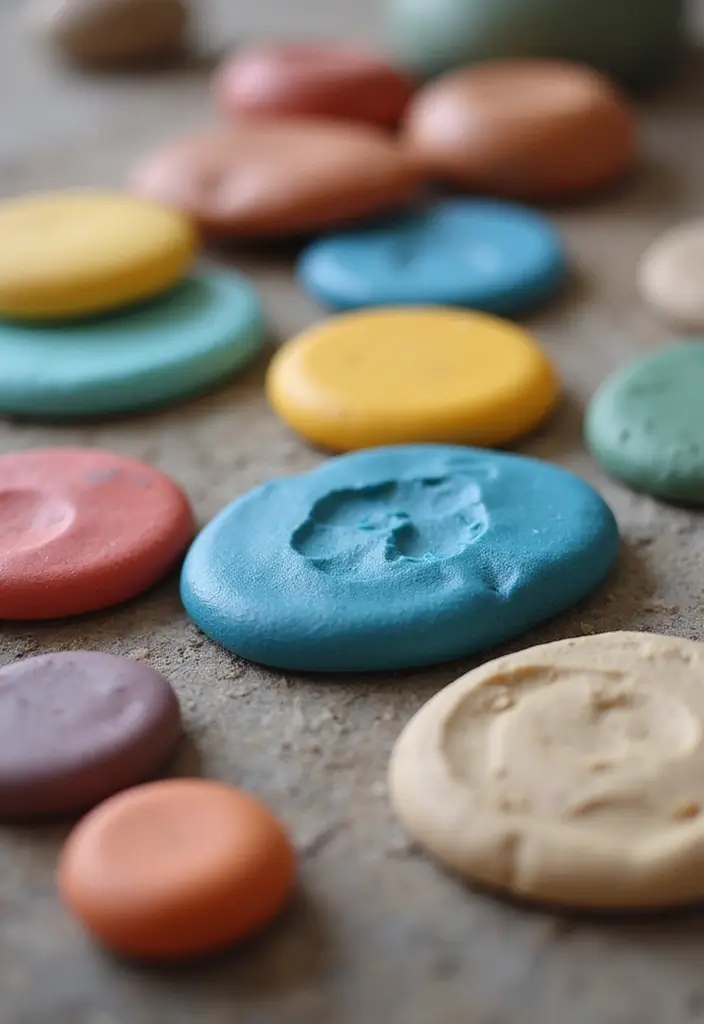
Okay, first things first, choosing the right clay is everything. Not all clays are the same, and trust me, it makes a difference!
I’m a huge fan of Sculpey III for beginners because it’s super soft and easy to work with. If you’re feeling fancy and want to get into detailed stuff, Fimo Professional is awesome, it’s a bit firmer but holds shapes like a dream.
Start with a few basic colors (you can mix them later for custom shades!).
Oh, and always check the baking instructions on the package. Pro tip: knead a tiny piece first to see how it feels before going all-in.
Try These:
Must-Have Tools for Crafting
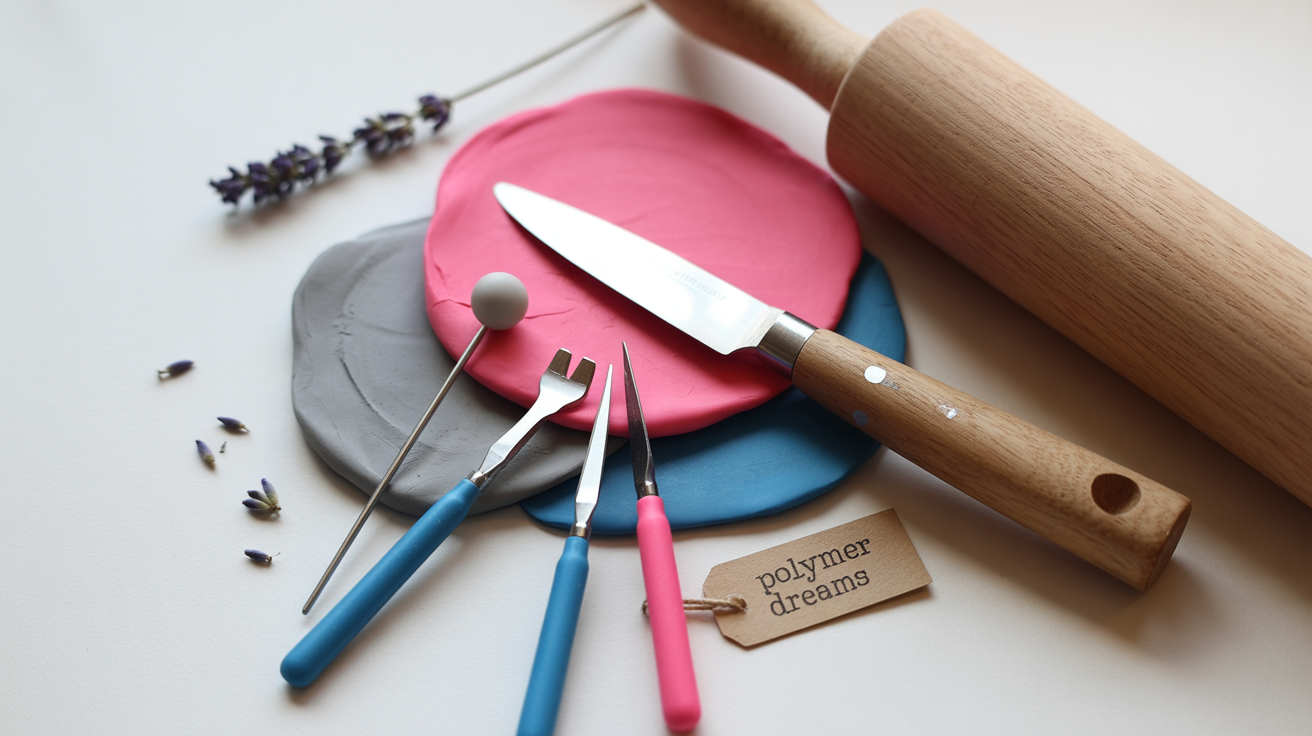
You don’t need a ton of fancy tools to start, but a few key ones will make your life so much easier.
A crafting knife and a good rolling pin are non-negotiable for me, I use them for everything! A tissue blade is great for clean cuts, and silicone molds are like cheat codes for making perfect shapes.
Also, get yourself a smooth work surface like a ceramic tile, it’s the best for keeping things clean.
Texture tools like stamps are fun for adding flair, too. Stock up on these, and you’re ready to roll!
Tool Checklist:
- Crafting knife
- Rolling pin
- Tissue blade
- Silicone molds
- Texture stamps
Grab These:
Nailing the Basics

Alright, let’s get to the fun part, actually playing with the clay! Start by conditioning it, which just means kneading it until it’s soft and pliable. This step is key to avoid cracks later.
Then, try rolling it into balls, snakes, or flat sheets. If you’re feeling creative, blend two colors together for a cool marbled effect or use a mold for instant shapes.
Stamping patterns is another easy way to make your pieces look pro. These basics are like the building blocks for all your future projects, so play around and have fun!
Techniques to Try:
- Swirl colors for a marbly vibe.
- Use molds for quick, cute shapes.
- Stamp patterns for extra pizzazz.
Grab These:
Adding Texture and Details
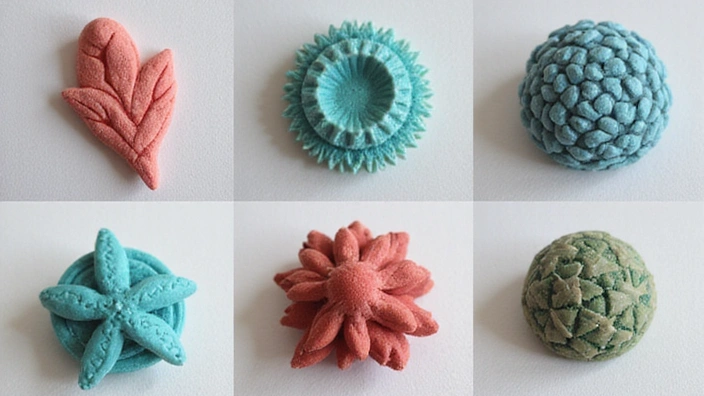
Textures are where your creations go from “cute” to “OMG, that’s amazing!” You can use stuff you already have at home like a fork for stripes or a sponge for a soft, bumpy look.
I love pressing lace into the clay for a delicate floral pattern. For tiny details, a needle tool is your best friend for carving little designs or poking holes.
Don’t be afraid to experiment, grabbing a leaf from your backyard can give your piece a super organic vibe.
Texture is like the sparkle that makes your clay projects stand out. Play with everyday stuff and watch your creations come alive!
Texture Ideas:
- Lace for floral patterns.
- Stencils for clean geometric shapes.
- Natural items like leaves for earthy textures.
Tool Picks:
Playing with Colors
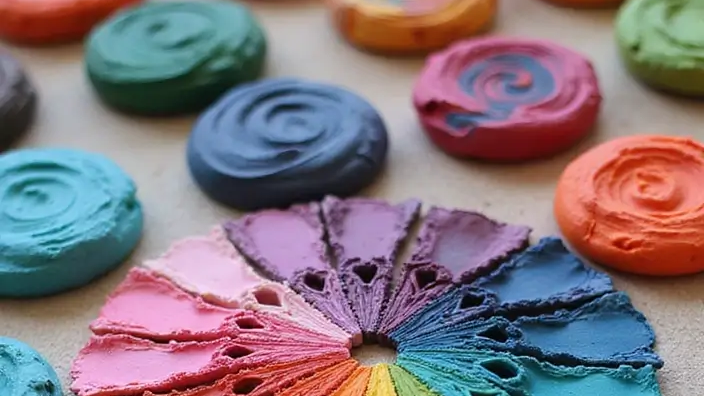
Mixing colors is honestly one of the best parts of polymer clay. It’s like being a kid with finger paints, but 3D!
Start with primary colors and blend them to make your own shades, think soft pastels or bold neons. I love mixing a bit of translucent clay with color for a glowy, dreamy effect.
Keep a little notebook of your mixes so you can recreate your faves. Trust me, once you start blending, you won’t stop!
Color mixing is your trick, every blend tells a story. Play with ratios and let your imagination run wild!
Color Tips:
- Use a color wheel to get the vibe right.
- Jot down your mixes for later.
- Test small bits before going big.
Must-Haves:
Fun Beginner Projects

If you’re just starting, pick projects that are cute but not overwhelming. I’m talking keychains, fridge magnets, or simple beads for a necklace.
They’re quick, fun, and let you practice without stressing out. Once you’re feeling confident, try making charms or little figurines, perfect for gifting or keeping!
These projects are all about letting your style shine through.
Project Ideas:
- Heart or star-shaped charms.
- Beads for a custom bracelet.
- Quirky fridge magnets.
Get Started With:
Baking Like a Boss
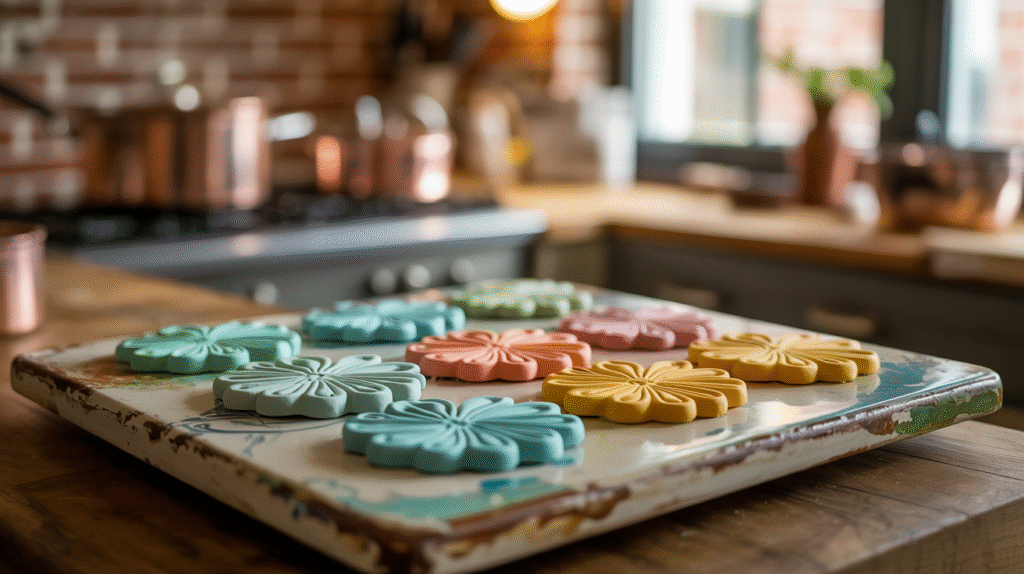
Baking is where the magic happens, but you gotta do it right. Most clays bake at around 265°F for 15-30 minutes, but check the package to be sure.
Use a ceramic tile or silicone mat to keep things safe and even. Watch your pieces closely though, too much heat can mess with the colors.
Let them cool completely before touching; it helps them harden up nice and strong.
Safety Tips:
- Don’t bake clay with food in the oven.
- Keep your space well-ventilated.
Baking Essentials:
Finishing Touches: Sanding and Sealing
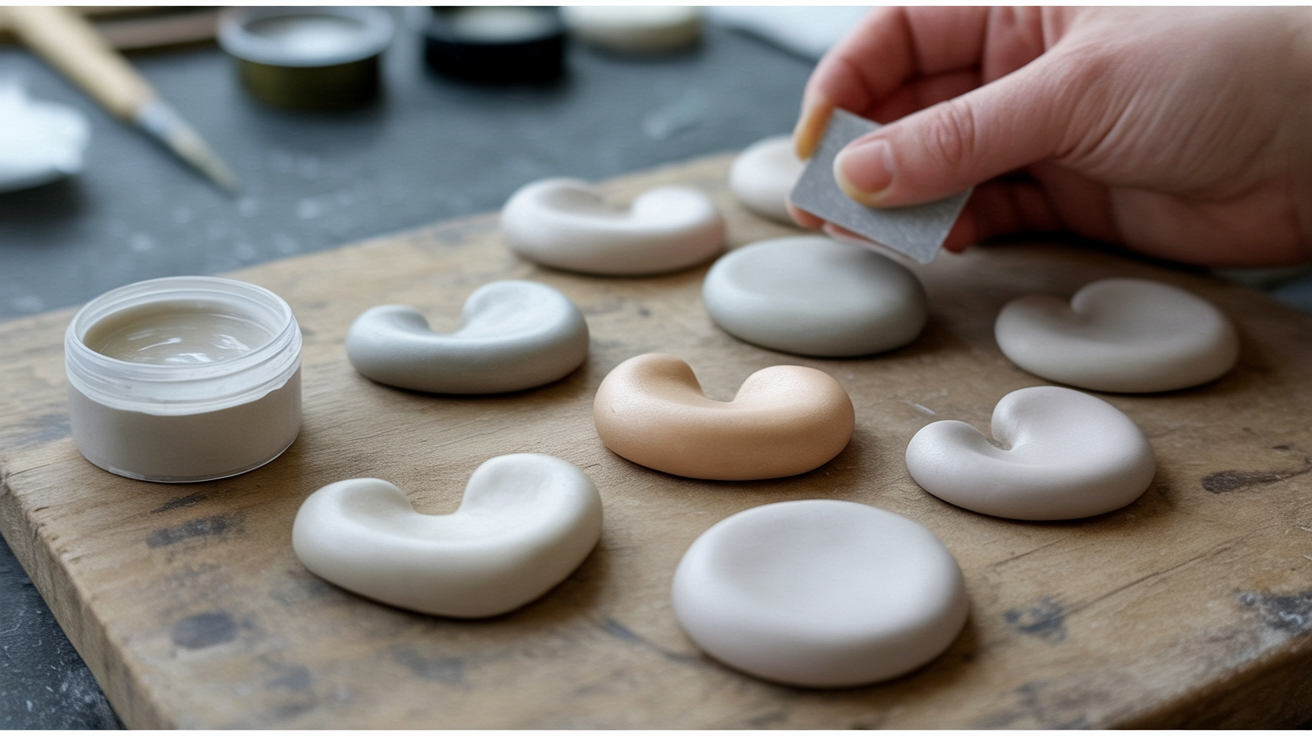
Once your creations are baked, it’s time to make them shine. Grab some fine-grit sandpaper to smooth out any rough spots, it’s so satisfying! Then, add a sealant for that pro finish.
Glossy gives a sleek look, while matte keeps it chill and natural. Brush it on gently and test a small spot first to make sure the color stays perfect.
Finishing Tips:
- Use a soft brush for even sealant.
- Varnish adds extra scratch protection.
Finishing Tools:
Fixing Common Issues
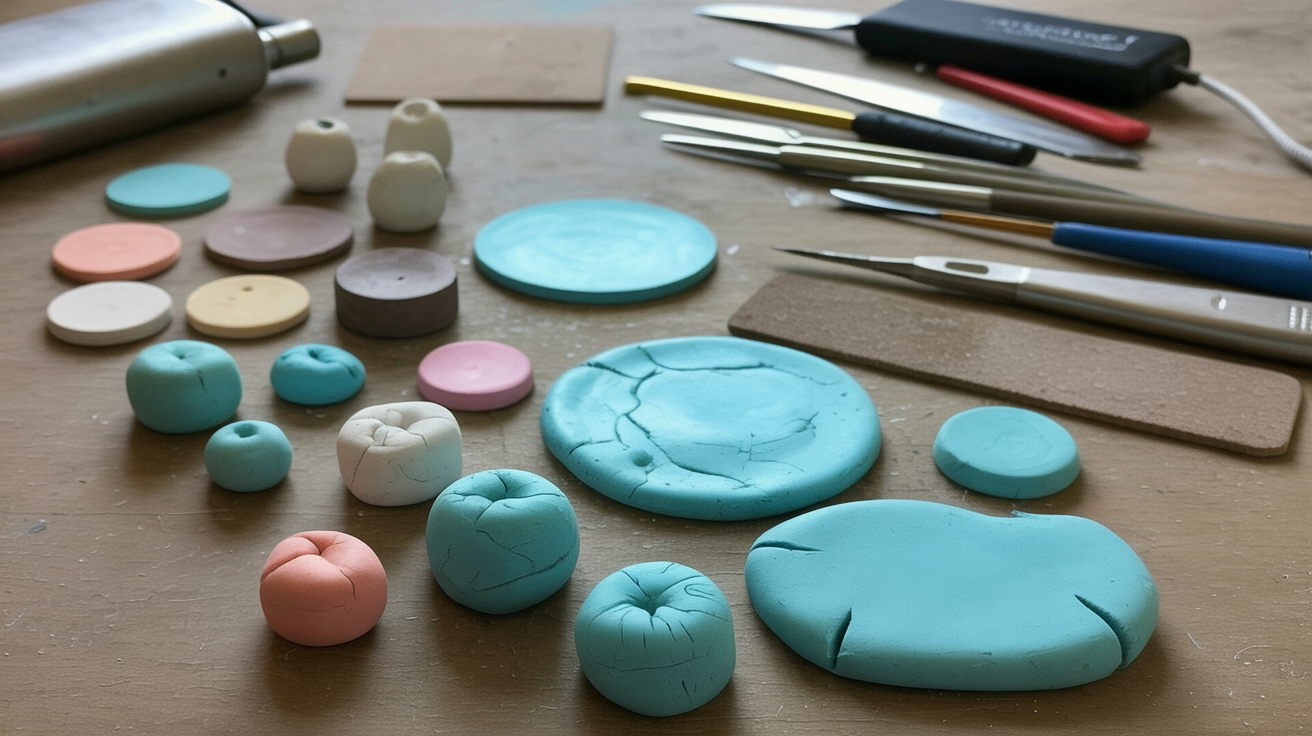
We all mess up sometimes, but don’t stress, most clay issues are fixable! Cracks? Knead your clay better next time or patch with liquid clay and rebake. Fingerprints? Smooth them out with a silicone tool or your finger.
Dust sticking to your clay? Keep your workspace clean. These little tricks will save your projects and keep you in the creative zone.
Every oops is a chance to learn! A dab of liquid clay or a quick smooth can turn your project around.
Fix-It Tools:
Joining a Clay Community
Crafting is way more fun with friends! Joining a polymer clay community is like finding your people, they’ll inspire you, share tips, and cheer you on.
Check out local workshops or hop on Instagram, TikTok or Pinterest for more ideas. You can even join challenges or swaps to push your skills. It’s the best way to keep the creative vibes going!
Wrapping It Up
Polymer clay crafting is such a vibe, it’s all about letting your imagination run wild and making stuff that’s totally you. Follow these steps, play around, and don’t be afraid to mess up a little. Share your creations with the community and keep the inspiration flowing. Happy crafting, you rockstar!
FAQs
1. What’s the best polymer clay for beginners?
Sculpey and Fimo are my go-tos, they’re easy to find and super beginner-friendly. Sculpey III is soft and great for starting out. Try a few to see what feels right for you!
2. What tools do I need to start?
You’ll want a crafting knife, a rolling pin, and some silicone molds to make life easy. A tissue blade is awesome for clean cuts, too. These basics will have you creating in no time!
3. How do I bake polymer clay right?
Follow the package instructions, usually around 265°F for 15-30 minutes. Use an oven thermometer and a ceramic tile for even baking. No microwaves though, they’re a no-go!
4. Can I mix colors with polymer clay?
Heck yes! Blend primary colors to make your own shades. Knead them well for an even mix, and add white or black to tweak the vibe. It’s so fun to experiment!
5. What are some easy project ideas?
Start with earrings, keychains, or cute figurines. They’re simple, let you practice, and make awesome gifts. Just have fun and let your style shine!

Leave a Reply