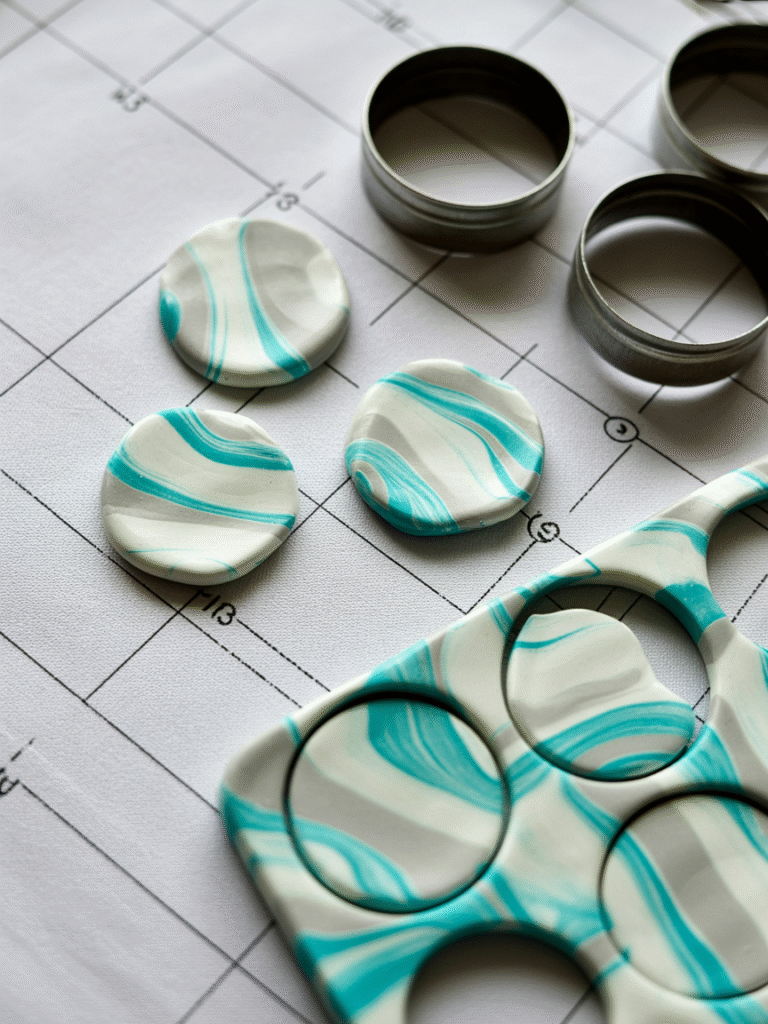
Alright, story time. In 2020, I panic-bought way too many random craft supplies, like I had no clue what I was actually going to make. One of those impulse buys was polymer clay, and honestly? Best decision ever!
I started making polymer clay earrings on a whim, and suddenly my kitchen table looked like a mini Etsy shop. They were very messy at first (think lopsided circles), but I fell in love with the whole process.
And because I wish someone had just given me the straight-up, friend-to-friend rundown, here’s everything I’ve learned about making polymer clay earrings – what you really need, what to skip, and the fun little tricks that make your designs look polished without driving you insane.
Polymer Clay Earrings Tutorial
Tools You’ll Actually Use
- Oven-bake polymer clay: Grab at least three colors that vibe together. Craftsmart stays soft and won’t kill your hands, it’s my preferred choice.
- Cutters: Mini cookie cutters are your best friend here. They’re dirt cheap and come in every shape you can think of like hearts, stars and more. You’ll use this to cut out perfect shapes super quickly with no stress! Stock up on a variety pack so you can keep things fresh.
- Roller: A glue stick works if you’re just messing around, but if you’re selling? You will need a clay press. It helps so much for smooth, even sheets, especially if you’re chasing those ombré or patterned styles.
- Jump Rings: 10 mm is the sweet spot… gold or silver, doesn’t matter. They’re sturdy, easy to work with, and connect your pieces. Keep a stash handy, you’ll use them for everything.
- Earring Backs: Posts with glue are good for a classic stud look. For hooks, they’re perfect for that dangly, free-spirited look. Pick what feels right for you, mixing both is totally fine too!
- Hole Maker: Embossing stylus, push pin, or a needle.
- Two pairs of long-nose pliers: Yes, two. One to hold, one to twist, makes opening and closing jump rings a breeze. You’ll avoid the frustration of fumbling with one pair and cursing under your breath. You’ll thank me later.
- Sandpaper: For smoothing those “oops” edges.

Step-By-Step (Without Losing Your Mind)
- Warm it up. Knead the clay until it’s soft. Remember to wash your hands before touching white clay! Lint and smudges are sneaky and will stick to it if you don’t.
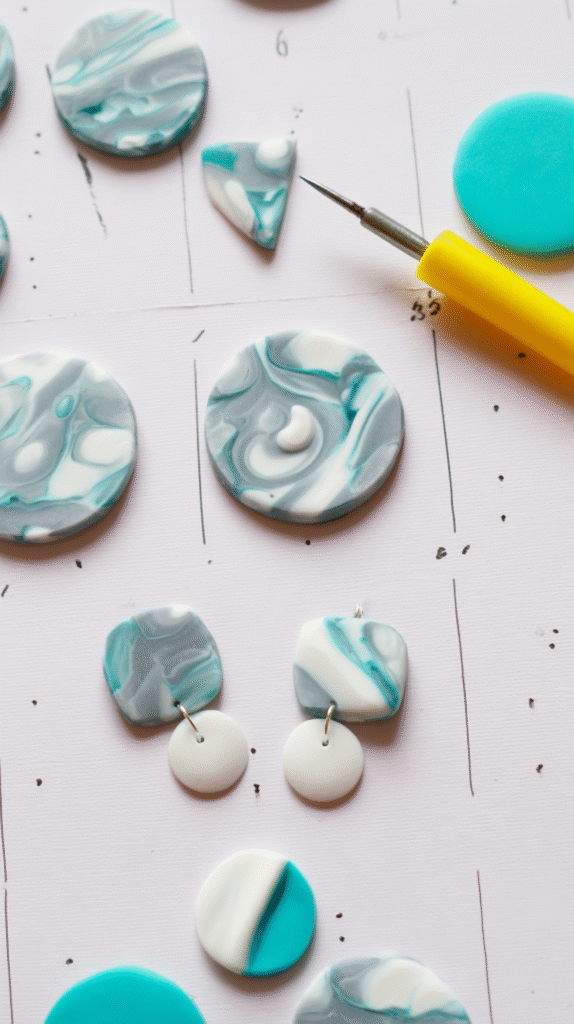
- Roll & cut. Flatten to an even thickness and cut your shapes as you desire. Lay them out like mini “earring mockups” to plan your layout.
- Poke holes. Add holes wherever you’ll connect jump rings. Make them big enough so they won’t close up while baking.
- Bake. Follow the brand’s instructions, this is very important because the amount of time and temperature vary.
- Cool & sand. Let the pieces cool completely, then smooth any rough edges you come across for that clean, boutique finish.
- Assemble. Use both pliers to open/close jump rings and connect the pieces.
- Add your Earring Backs. If you decide to glue earring posts, my favorite that I recommend is Gorilla Glue Gel because it grips the best. You could use hot glue, but honestly, it never holds up for long. Polymer clay is tricky, most glues just don’t want to stick.

Tiny Tips That Make a Big Difference
- To keep things clean and mess-free, Lay parchment or wax paper on your table. This will make cleanup much easier.
- If you’re trying to go for the Marble look but you’re having some issues with it, try this… Bake first, then paint with acrylics. This will give you a fresh start for a new design.
- For more creative shapes and styles, just use cutters. So for example, cut a circle, then slice it with a square cutter for chic half-moons.
- For a speckled/terrazzo look, add a pinch of black pepper into your clay (yes, from the kitchen!).
Wrap-Up
Making polymer clay earrings is totally addictive. There’s something so satisfying about squishing that soft clay into shapes. And those “wonky” pairs? Every imperfection tells a story, and I’m here for it. Grab your clay, throw on that cozy playlist, maybe some chill lo-fi or acoustic vibes, whatever you’re into and just dive in. No overthinking, just pure polymer clay fun.
When you finish, tag me, I want to see your creations!

Leave a Reply